Linux的命令基本用法-sed
[shadow]
| sed文本處理工具的用法: |
用法1:前置命令 | sed [選項] '條件指令'
用法2:sed [選項] '條件指令' 文件.. ..
相關說:
- 條件可以是行號或者/正則/
- 沒有條件時,默認為所有條件
- 指令可以是增、刪、改、查等指令
- 默認sed會將所有輸出的內容都打印出來,可以使用-n屏蔽默認輸出
- 選項中可以使用-r選項,讓sed支持擴展正則
| 一、認識sed工具的基本選項 |
sed命令的常用選項如下:
-n(屏蔽默認輸出,默認sed會輸出讀取文檔的全部內容)
-r(讓sed支持擴展正則)
-i(sed直接修改源文件,默認sed只是通過內存臨時修改文件,源文件無影響)
-s ( substitution 代替 )
-g ( global 全部)
-^ ( begin of the line 行列的最前)
-# ( end of the line 行列的最後)
-e ( expression=script 表逹式)
-a ( addition 新增)
-d ( delete 刪除)
以hosts文件為範例
cat -n hosts
     1  # This file was automatically generated by WSL. To stop automatic generation of this file, add the following entry to /etc/wsl.conf:
     2  # [network]
     3  # generateHosts = false
     4  127.0.0.1       localhost
     5  127.0.1.1       Linux.localdomain      Linux
     6
     7  172.30.233.74   host.docker.internal
     8  172.30.233.74   gateway.docker.internal
     9  127.0.0.1       kubernetes.docker.internal
    10
    11  # The following lines are desirable for IPv6 capable hosts
    12  ::1     ip6-localhost ip6-loopback
    13  fe00::0 ip6-localnet
    14  ff00::0 ip6-mcastprefix
    15  ff02::1 ip6-allnodes
    16  ff02::2 ip6-allrouters
1)sed命令的 -n 選項
sed '1p' /etc/hosts
# This file was automatically generated by WSL. To stop automatic generation of this file, add the following entry to /etc/wsl.conf:
# This file was automatically generated by WSL. To stop automatic generation of this file, add the following entry to /etc/wsl.conf:
# [network]
# generateHosts = false
127.0.0.1       localhost
127.0.1.1       Linux.localdomain      Linux

172.30.233.74   host.docker.internal
172.30.233.74   gateway.docker.internal
127.0.0.1       kubernetes.docker.internal

# The following lines are desirable for IPv6 capable hosts
::1     ip6-localhost ip6-loopback
fe00::0 ip6-localnet
ff00::0 ip6-mcastprefix
ff02::1 ip6-allnodes
ff02::2 ip6-allrouters
可以發現所有的行都被顯示出來了(第1行重復2次)。—— 正確的用法應該添加 -n 選項,這樣就可以只顯示第1行了:
 sed -n '1p' /etc/hosts
# This file was automatically generated by WSL. To stop automatic generation of this file, add the following entry to /etc/wsl.conf:
行號可以是連續的行號,如打印passwd第7到第9行賬戶的信息:
sed -n '7,9p' /etc/hosts
172.30.233.74   host.docker.internal
172.30.233.74   gateway.docker.internal
127.0.0.1       kubernetes.docker.internal
2)sed命令的 -i 選項
正常情況下,sed命令所做的處理只是把操作結果(包括打印、刪除等)輸出到當前終端屏幕,而並不會對原始文件做任何更改:
sed 'd' /etc/passwd                      //刪除所有行
cat /etc/passwd                          //查看原始文本,並未改動
若希望直接修改文件內容,應添加選項 -i 。
比如,直接刪除test.txt(自行創建一個任意內容的文件)的第1~4行:
sed -i '1,4d' test.txt            //刪除操作
cat test.txt                      //確認刪除結果
下文中關於使用sed修改文件的示例中,為了避免大家在練習過程中因誤操作導致系統故障,命令省略 –i 選項,不再逐一說明。需要時,大家可自行加上此選項。
3)多個指令可以使用分號(;)隔離
用分號(;)來隔離多個操作,比如:
sed -n '1p;4p' /etc/passwd
root:x:0:0:root:/root:/bin/bash
adm:x:3:4:adm:/var/adm:/sbin/nologin| 二、認識sed工具的條件 |
# sed [選項] '條件指令' 文件.. ..
sed命令可以使用行號或正則做為條件匹配:
打印第3行:
sed -n '3p' /etc/passwd打印第3到5行:
sed -n '3,5p' /etc/passwd打印第3和5行:
sed -n '3p;5p' /etc/passwd打印奇數行:
sed -n '1~2p' /etc/passwd打印偶數行:
sed -n '2~2p' /etc/passwd打印包含root的行:
sed -n '/root/p' /etc/passwd打印bash結尾的行:
sed -n '/bash$/p' /etc/passwd

sed -n 'p' /etc/passwd| 三、sed工具的p、d、s操作指令案例集合 |
1)下面看看sed工具的p指令案例集錦(自己提前生成一個a.txt文件)
sed  -n 'p' a.txt            //輸出所有行,等同於cat a.txt
sed  -n '4p' a.txt            //輸出第4行
sed  -n '4,7p' a.txt        //輸出第4~7行
sed  -n '/^bin/p' a.txt        //輸出以bin開頭的行
sed  -n '$=' a.txt            //輸出文件的行數
2)下面看看sed工具的d指令案例集錦(自己提前生成一個a.txt文件)
sed  '3,5d' a.txt             //刪除第3~5行
sed  '/xml/d' a.txt            //刪除所有包含xml的行
sed  '/xml/!d' a.txt         //刪除不包含xml的行,!符號表示取反
sed  '/^install/d' a.txt    //刪除以install開頭的行
sed  '$d' a.txt                //刪除文件的最後一行
sed  '/^$/d' a.txt             //刪除所有空行
3)sed命令的s替換基本功能(s/舊內容/新內容/選項):
vim  test.txt                //新建素材
2017 2011 2018
2017 2017 2024
2017 2017 2017

sed 's/2017/xxxx/'           test.txt
sed 's/2017/xxxx/g'          test.txt
sed 's/2017/xxxx/2'          test.txt
sed 's/2017//2'              test.txt
sed -n 's/2017/xxxx/p'      test.txt
4)下面看看sed工具的s指令案例集錦(自己提前生成一個a.txt文件)
注意:替換操作的分隔“/”可改用其他字符,如#、&等,便於修改文件路徑
sed 's/xml/XML/'  a.txt        //將每行中第一個xml替換為XML
sed 's/xml/XML/3' a.txt     //將每行中的第3個xml替換為XML
sed 's/xml/XML/g' a.txt     //將所有的xml都替換為XML
sed 's/xml//g'     a.txt     //將所有的xml都刪除(替換為空串)
sed 's#/bin/bash#/sbin/sh#' a.txt  //將/bin/bash替換為/sbin/sh
sed '4,7s/^/#/'   a.txt         //將第4~7行注釋掉(行首加#號)
sed 's/^#an/an/' a.txt //解除以#an開頭的行的注釋(去除行首的#號)| 四、使用sed修改系統配置 |
並編寫腳本anonftp.sh,實現:
- 通過yum安裝vsftpd軟件包
- 修改vsftpd服務配置,開啟匿名上傳
- 調整/var/ftp/pub目錄權限,允許寫入
- 啟動vsftpd服務,並設置開機自運行
1)任務需求及思路分析
vsftpd服務的安裝、改目錄權限、起服務等操作可以直接寫在腳本中。
修改vsftpd.conf配置的工作可以使用sed命令,根據默認配置,只需要定位到以#anon開頭的行,去掉開頭的注釋即可。
2)根據實現思路編寫腳本文件
vim anonftp.sh
#!/bin/bash
yum -y install vsftpd                             //安裝vsftpd軟件
cp /etc/vsftpd/vsftpd.conf{,.bak}                  //備份默認的配置文件
sed -i "s/^#anon/anon/" /etc/vsftpd/vsftpd.conf      //修改服務配置
chmod 777  /var/ftp/pub                              //調整目錄權限
systemctl start vsftpd                              //啟動服務
systemctl enable vsftpd                            //設為自動運行

chmod +x anonftp.sh
./anonftp.sh| 五、sed多行文本處理 |
使用sed工具來完成下列操作:
- 修改主機名配置文件
- 修改hosts文件,添加兩條映射記錄:192.168.4.5 與 svr5.tarena.com、svr5,還有119.75.217.56與 www.baidu.com
sed [選項] '條件指令' 文件..
sed工具的多行文本處理操作:
- i: 在指定的行之前插入文本
- a:在指定的行之後追加文本
- c:替換指定的行
自己創建一個測試文件:
sed  '2a XX'   a.txt            //在第二行後面,追加XX
sed  '2i XX'   a.txt            //在第二行前面,插入XX
sed  '2c XX'   a.txt            //將第二行替換為XX
1)確認修改前的配置
cat /etc/hostname
svr5.admin.com
2)使用sed修改主機名配置所在行的內容(c整行替換)
sed '1c mysvr.tarena.com' /etc/hostname 修改hosts文件,添加新的記錄:
1)確認修改前的配置
cat /etc/hosts
127.0.0.1   localhost localhost.localdomain localhost4 localhost4.localdomain4
::1         localhost localhost.localdomain localhost6 localhost6.localdomain6
2)使用sed修改hosts文件,添加兩行新紀錄(a追加)
sed  -i  '$a 192.168.4.5  svr5.tarena.com svr5'  /etc/hosts
127.0.0.1   localhost localhost.localdomain localhost4 localhost4.localdomain4
::1         localhost localhost.localdomain localhost6 localhost6.localdomain6
192.168.4.5 svr5.admin.com svr5| 六、範例 |
利用Windows Server的GPO收集每部電腦的IP地用於網絡啟動,可以好方便地利是sed批量修改參數。

因為是同款(相同型號)機型,所以頭6位MAC地址是相同,在這實例中MAC地址的頭6位是48-0F-CF
grep -ia ': 48-0F-CF-' LC*.txt > wol.bat收集所有MAC地址到1個文本中

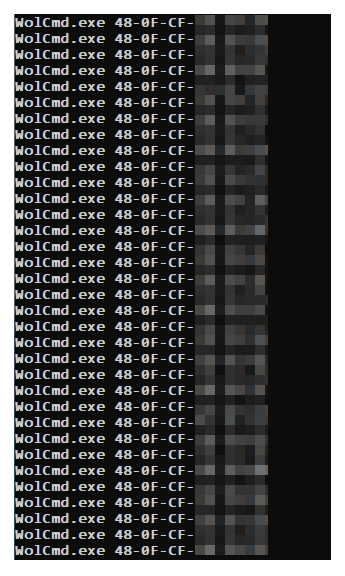
sed -i -e 's/^.*. .:/WolCmd.exe/g' wol.bat替換MAC地址前的內容為WolCmd.exe
sed -i -e 's/$/ 10.94.96.0 255.255.252.0 7/g' wol.bat每段MAC地址後新增內容 10.94.96.0 255.255.252.0 7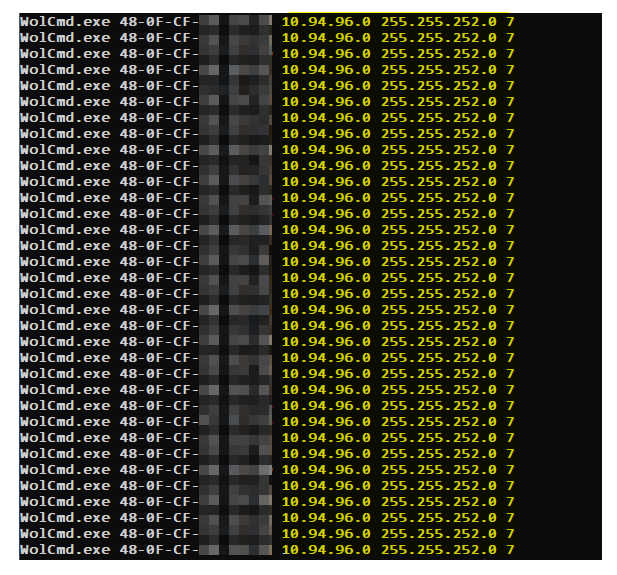
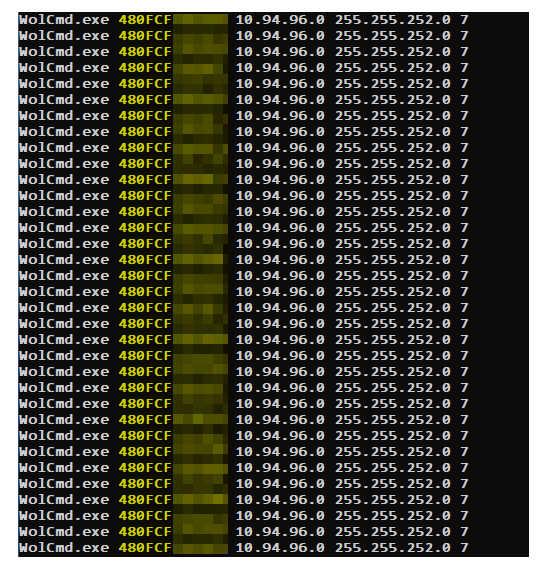
sed -i -e 's/-//g' wol.bat移除所有-最後顯示內容為下圖示:
也可以使用一行命令完成所有的修改
sed -i -e 's/^.*. .:/WolCmd.exe/g ; s/$/ 10.94.96.0 255.255.252.0 7/g ; s/-//g' wol.bat或者
sed -i -e 's/^.*. .:/WolCmd.exe/g' -e 's/$/ 10.94.96.0 255.255.252.0 7/g' -e 's/-//g' wol.bat
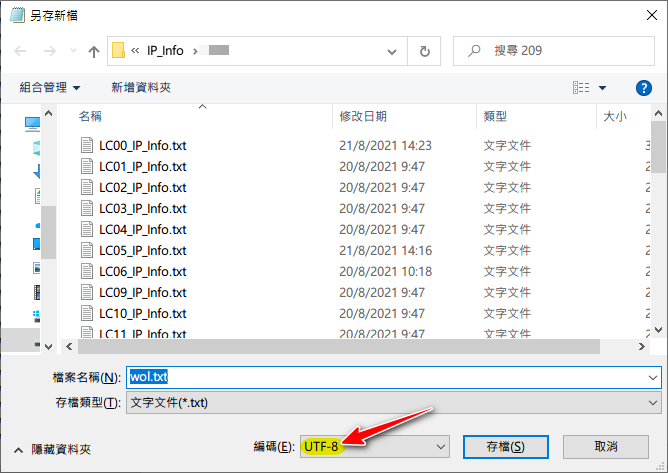
- 留意如果中文字是亂碼,需要在
Windows轉換為UTF-8編碼才可以正常使用sed編輯。
| 參考及引用: |